The Boyz were quickly bashed together with a method I've been earlier using with Chaos Cultists, Pox Walkers and such. First sort out roughly the required number of body parts and weapons in one container. It's propably best, if the numbers don't exactly add up. If there's a hand or two missing, who cares. Just glue the gun straigth to the shoulder. Bored of the 4 identical looking bodies? Cool, just cut them all in half (horizontal or vertical, doesn't matter) with pliers, mix up, and glue back without fitting/measuring. Missing a pair of legs? No problem, 2-3 screws should do the trick.
I've noticed this approach gives very nice and often unpredictable poses, which can be even further exaggerated (or balanced down a bit if needed) with basing the models on uneven surfaces. A good example of this is the Nob with rokkit launcha & screw as arms, who's in kind of a climbing position. Would have been very different story, if that model had been put in to a plain and flat base. I tend to make a whole bunch of bases at a time, and then quickly try and find out the suitable miniature + base combos.
The first mob of 10 Boyz with shootas.


The second mob of 10 Boyz with choppas and sluggas.


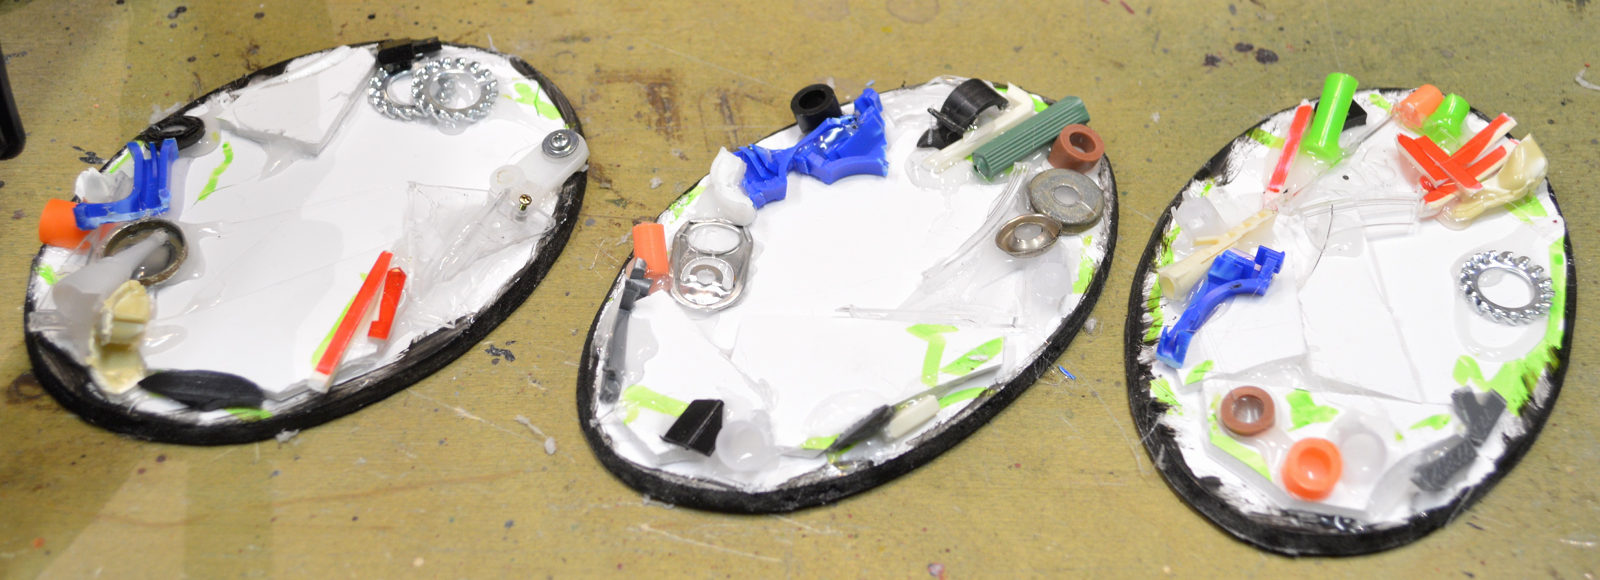
Hot glued cool bits & garbage on the bases. Then PVA glue and sand or "mixed basing mess" (which is all the cutoffs, mould line scrap and other junk from the tabletop that should go straight to the bin. Or actually it shouldn't).


No comments:
Post a Comment